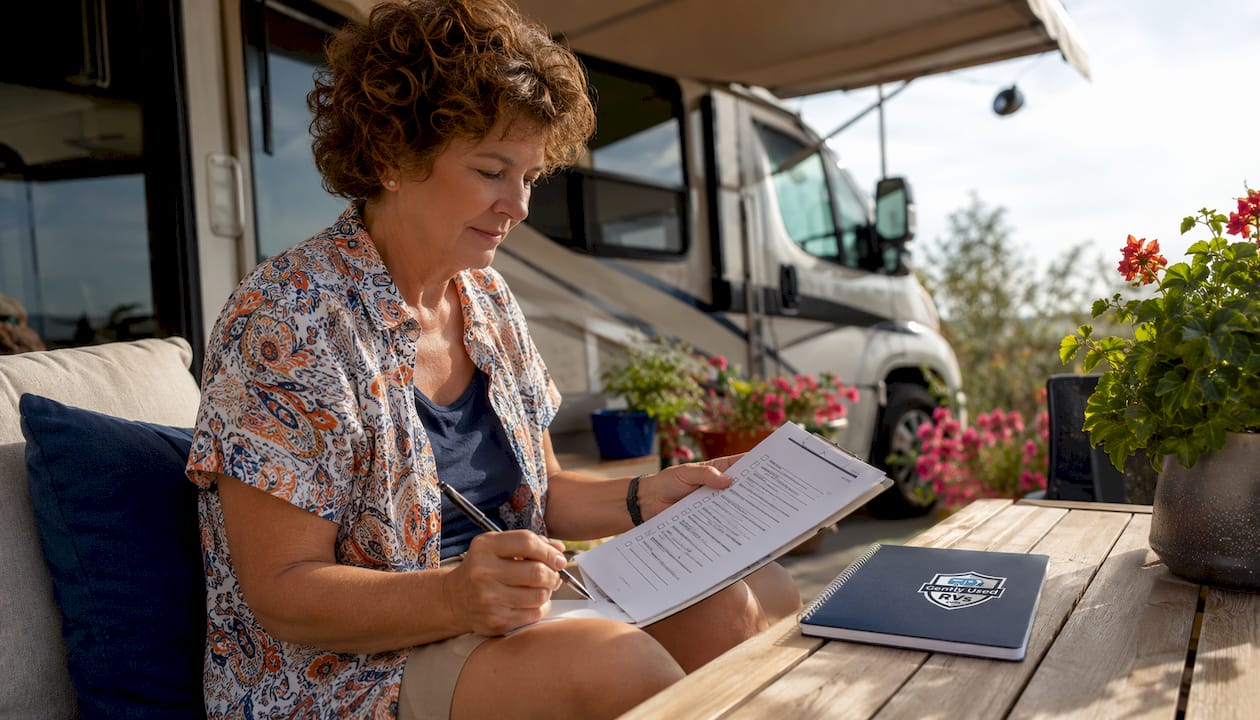
Your first RV trip goes smoothly or sideways based almost entirely on preparation. The core RV newbie checklist covers five areas: arrival setup, essential gear, safety checks, pre-trip planning, and post-trip maintenance. Get these right and you will spend your first night at the campsite relaxed, not scrambling.
Here is the high-level view before we go deep on each area:
- Arrival setup: site walk-around, leveling, slide-outs, utility hookups (power, water, sewer in that order), stabilizer jacks
- Essential gear: drinking-water-safe hose, water pressure regulator, surge protector or EMS, sewer hose kit, wheel chocks, leveling blocks, tire pressure gauge, dogbone electrical adapters
- Safety checks: tire pressure, exterior lights, hitch and safety chains, fire extinguisher gauge, smoke and CO detectors
- Pre-trip planning: short first trip (1–3 hours from home), full-hookup campground, daylight arrival, driveway practice day
- Post-trip maintenance: flush tanks, inspect seals, check tire condition, store gear properly
Every section below expands on one of these areas with the specifics that actually matter.
1. How to set up your RV at the campsite
Arrival day is where most beginners make their first mistakes, and almost all of them are avoidable. The fix is a repeatable sequence you follow every single time.
Step-by-step arrival and setup order:
- Check in at the office and review your site map before driving to the site.
- Walk the entire site on foot before you back in. Locate the power pedestal (note whether it is 30-amp or 50-amp), find the sewer connection, and check for low-hanging branches and unlevel ground.
- Use a spotter when backing in. If you are solo, prop your phone at the rear of the site.
- Place wheel chocks before you do anything else.
- Level the RV using leveling blocks or your automatic leveling system.
- Deploy stabilizer jacks to reduce interior movement.
- Connect utilities in order: electric first, then water, then sewer.
- Attach your water pressure regulator before connecting the hose.
- Extend slide-outs only after confirming you have clearance on all sides.
- Check for water leaks at every connection before heading inside.
Pro Tip: Schedule a driveway practice day before your first real trip. Hook up utilities, run the water pump, test the stove and furnace, and cycle the slide-outs at home. A driveway practice run converts potential campsite emergencies into manageable fixes you handle in your own parking spot.
One thing beginners consistently skip: checking overhead clearance before pulling forward or extending the awning. A branch you did not notice can tear an awning in seconds. Slow down, look up, and walk the perimeter again if anything looks tight.
2. Essential gear every RV beginner needs to pack
The must-have baseline gear for new RVers protects your water system, electrical system, and waste system from the most common first-trip failures. Everything else is a comfort upgrade.
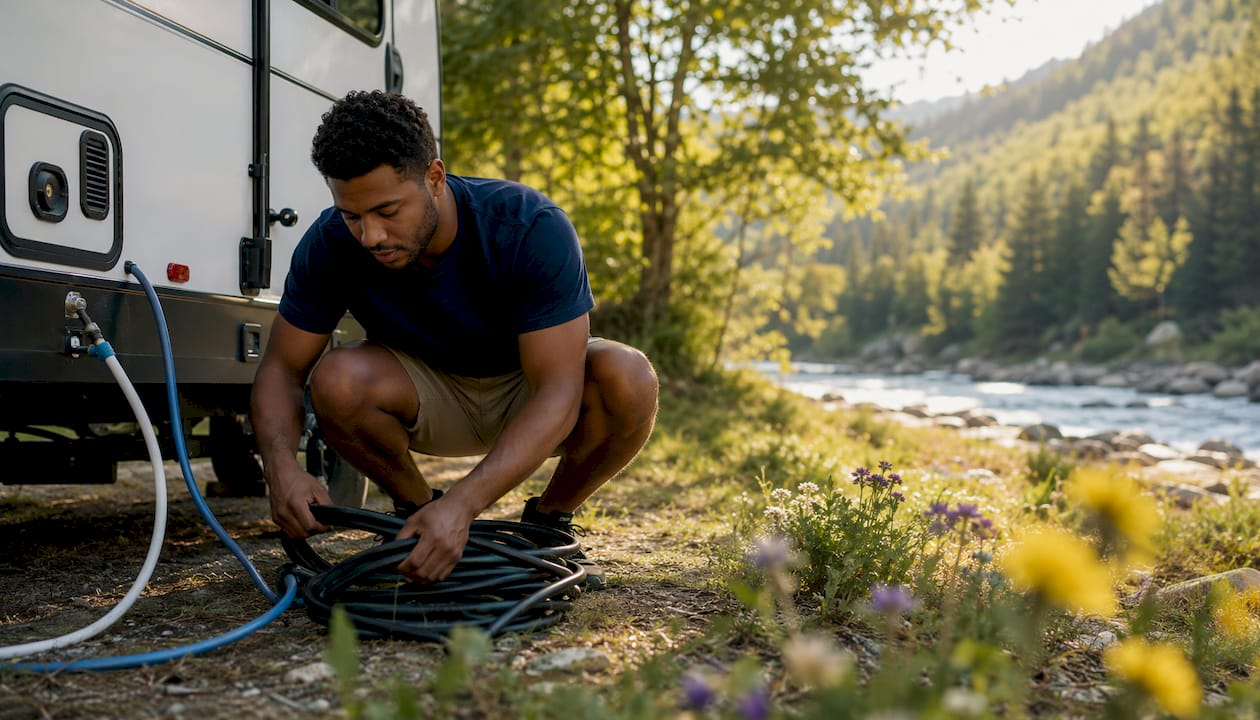
- Drinking-water-safe hose: Standard garden hoses leach lead and chemicals into your water. Use only a white or blue hose rated for potable water.
- Water pressure regulator: Campground water pressure can spike high enough to burst interior pipes. A brass regulator keeps water pressure at a safe, regulated level to protect your interior pipes.
- Surge protector or EMS: Faulty campground pedestals can fry your appliances instantly. An EMS (Energy Management System) monitors voltage continuously and cuts power before damage occurs.
- Sewer hose kit: A heavy-duty 15-foot kit with a clear elbow adapter lets you see flow and confirm the connection is secure.
- Wheel chocks: Place them before unhitching or leveling. They prevent the rig from rolling on any grade.
- Leveling blocks: Unlevel RVs stress the refrigerator, slide-outs, and your sleep. Interlocking plastic blocks like Camco’s Fasten leveling system stack quickly.
- Tire pressure gauge or TPMS: Check cold tire pressure before every departure. A Tire Pressure Monitoring System gives you real-time alerts while driving.
- Dogbone electrical adapters: New RVers often forget these small adapters, which let you plug a 30-amp rig into a 50-amp pedestal or vice versa.
- Holding tank treatment: Drop-in treatments prevent odors and break down waste in the black tank. Skip them and you will regret it by day two.
- Disposable gloves: Keep a box in the sewer kit compartment. Always.
- Basic toolkit: Screwdrivers, pliers, adjustable wrench, zip ties, and Flex Tape handle the majority of minor roadside issues.
- First aid kit and roadside emergency kit: Reflective triangles, jumper cables, and a battery jump pack belong in the side bay of every rig.
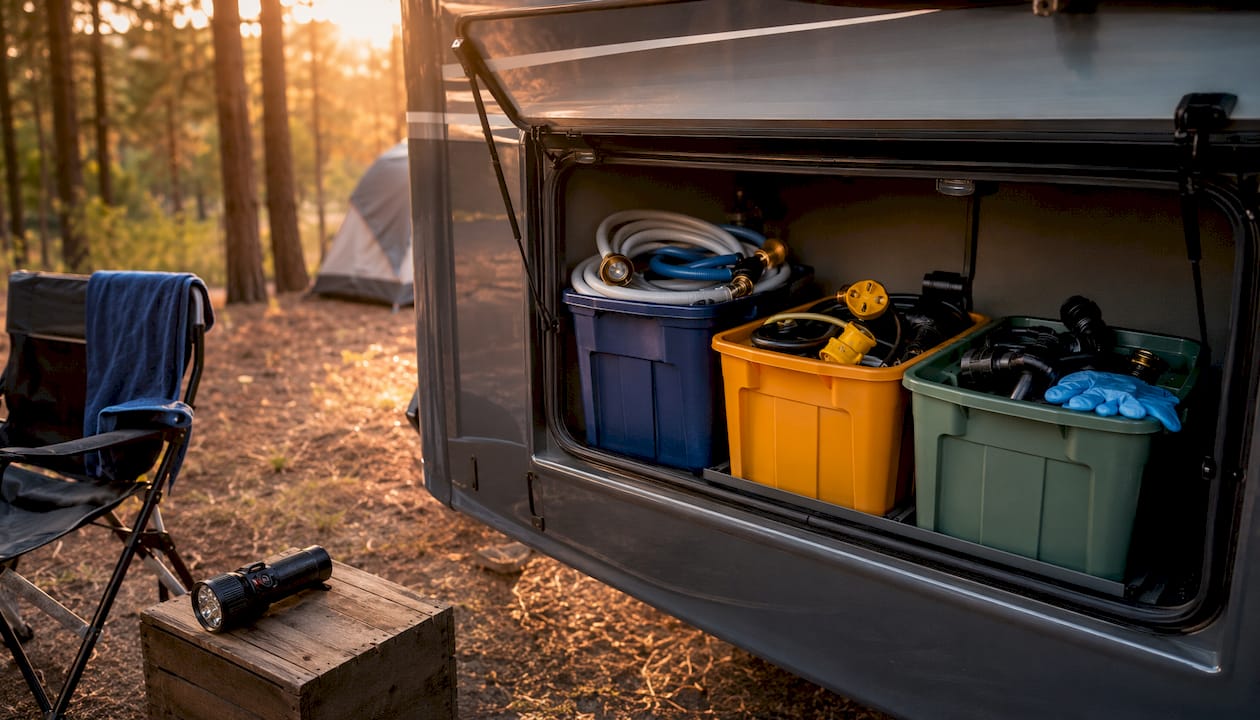
Organize your setup gear into dedicated bins: one for water hookups, one for electrical, one for sewer. Veteran RVers pack these separately so arrival setup never turns into a scavenger hunt. For the kitchen, a stackable RV cookware set saves cabinet space and travels without rattling loose.
3. Safety and pre-trip checks you cannot skip
A safety routine before every departure is what separates a smooth trip from a roadside breakdown. Run through this before you pull out of the driveway, every time.
Pre-departure safety checklist:
- Check cold tire pressure and tread depth on every tire, including the spare. Look for sidewall cracking on rigs that have been in storage.
- Test all exterior lights: running lights, brake lights, and turn signals.
- Verify hitch connections and safety chains are secure and properly crossed.
- Inspect the fire extinguisher gauge needle; it must sit in the green zone.
- Test smoke and carbon monoxide detectors. CO from a faulty furnace gives no warning.
- Confirm all slide-outs are fully retracted.
- Check that antennas are down, steps are in, and all compartment doors are latched.
- Verify the awning is fully retracted and locked.
Testing onboard systems at home:
- Test propane appliances (stove, water heater, furnace) before departure, not at 2 AM at the campsite.
- Run the water pump for 30 seconds and check every connection underneath for drips.
- Check battery bank voltage. A 12V system reading 12.4V or below means you are starting depleted.
- Run the generator for at least five minutes under load before your first long trip.
- Test the HVAC system on both heat and cool settings.
Emergency preparedness basics:
- Save your roadside assistance number in your phone before you leave. A Good Sam or AAA RV membership covers tows that otherwise cost $400 or more.
- Keep an emergency contact list inside the RV with your insurance policy number, roadside assistance number, and your dealer’s service line.
- Know where your fire extinguisher is and how to use it before you ever need it.
4. Pre-trip planning tips for your first RV adventure
The single best thing you can do for your first trip is keep it short and simple. Start with a destination within one to three hours of home, stay two or three nights, and choose a campground with full hookups. Full hookups mean power, water, and sewer right at your site, which removes the biggest variables while you are still learning.
Planning checklist for new RV owners:
- Pick a campground with full hookups and pull-through sites if possible.
- Plan to arrive in daylight with at least two hours to spare for setup.
- Choose wide, straightforward roads. Avoid downtown traffic, narrow backroads, and steep mountain passes on trip one.
- Identify fuel stops ahead of time. Large stations near highway exits are far easier than tight small-town corners.
- Create a departure checklist and use it every single time you leave, even for short moves.
- Pack for comfort, not for every emergency. Bedding, towels, toiletries, medications, simple food, and camp chairs cover most of what you actually need.
Pro Tip: Follow the 330-mile/3:30 PM rule: limit daily travel to 330 miles or plan to arrive by 3:30 PM. This one habit prevents fatigue-driven setup errors and gives you enough daylight to get everything connected without stress.
One mistake that catches nearly every beginner: overplanning the itinerary. When every hour is scheduled, there is no room for weather, a slow fuel stop, or the simple pleasure of sitting still. Your first trip should breathe. Let it.
5. How Gently Used RVs helps you find the right rig and trusted dealers
Before any checklist matters, you need the right RV. Gently Used RVs makes that search straightforward, whether you are browsing your first travel trailer or comparing Class B motorhomes.
- All RV types in one place: Class A, B, and C motorhomes, travel trailers, fifth wheels, pop-up campers, toy haulers, truck campers, and more, all searchable without creating an account.
- Geotargeted search results: The platform shows you the closest listings first, so you are not sorting through rigs three states away.
- Trusted dealer directory: The dealer directory connects you with vetted dealerships near you, which matters when you want to inspect a rig in person before committing.
- Scam safety resources: The platform’s guides walk you through how to buy safely, including red flags to watch for and verification steps that protect your money.
- Educational blog content: Articles covering RV types, lifestyles, and system basics help you arrive at the lot already knowing what questions to ask.
Ready to find your first rig? Browse used RVs for sale on Gently Used RVs, or use the RV classes guide to narrow down exactly what fits your travel plans and budget.
6. Post-trip maintenance checklist
What you do after a trip determines how ready your rig is for the next one. Skipping post-trip maintenance is how small issues become expensive repairs.
- Dump and flush both tanks. Flush the black tank thoroughly, then open the gray tank to rinse the sewer hose. Never leave waste sitting in tanks between trips.
- Drain the fresh water system if you will not use the RV for more than a week, especially in cold weather.
- Inspect all seals and seams on the roof, windows, and slide-outs for cracks or gaps. Water intrusion is the most expensive damage an RV owner faces, and it starts small.
- Check tire condition after every trip. Look for uneven wear, sidewall damage, and pressure loss. Tires that sit on hot pavement for hours can develop flat spots if left uninflated.
- Clean and dry the sewer hose kit before storing it. A damp hose stored in a closed compartment breeds odor fast.
- Wipe down the interior and remove all perishable food. A forgotten bag of chips draws pests that are far harder to evict than they were to invite.
- Retract and secure the awning fully. An awning left partially extended in wind or rain can tear or damage the mounting arm.
- Run a quick systems check: confirm the propane is shut off at the tank, the water pump is off, and the battery disconnect is engaged if the rig will sit for more than a few days.
A printed post-trip checklist taped inside a cabinet door takes 30 seconds to run through and prevents the kind of damage that costs hundreds to fix.
7. RV etiquette and campground rules every beginner should know
Campground culture has real expectations, and most of them are unwritten. Knowing them before you arrive makes you a neighbor people are glad to see.
Quiet hours are non-negotiable. Most campgrounds run quiet hours from 10 PM to 7 AM, though some state park systems extend to 8 AM. Ask at check-in rather than guessing. Generator use is almost always restricted during quiet hours, even if your rig has one.
Stay inside your site boundaries. Your awning, chairs, and gear belong within your assigned space. Encroaching on a neighbor’s site, even slightly, creates friction fast.
Leash your pets and clean up immediately. No exceptions. Campgrounds that allow pets rely on owners to keep common areas clean. Leaving waste behind is the fastest way to get asked to leave.
Keep noise and lights pointed inward. String lights and lanterns are fine; floodlights aimed at neighboring sites are not. Sound carries farther outdoors than it does indoors, especially at night.
Leave your site cleaner than you found it. Pick up any trash, rake fire ash if a fire ring was used, and check the ground around your hookup connections for drips or debris. The RV community genuinely looks out for each other, and that culture starts with how you treat shared spaces.
One practical note: if you are new and struggling with a hookup or a backing maneuver, ask a neighbor. The RV community is one of the most helpful groups of people you will encounter on the road. Most seasoned RVers remember their first trip clearly and are glad to help.
8. How to drive and maneuver an RV safely
Driving an RV is a skill, not just an extension of driving a car. The physics are different, the sight lines are different, and the consequences of a mistake are more expensive.
Before you drive:
- Know your RV’s exact height, length, and width. Write them on a sticky note on the dashboard until they are memorized.
- Plan your route using a GPS designed for RVs, which accounts for height restrictions, weight limits, and propane restrictions on tunnels and bridges.
- Take a 20–30 minute local test drive before your first long trip. Mix neighborhood streets, stop-and-go traffic, and highway speeds to understand how the rig handles under load.
On the road:
- Increase your following distance significantly. RVs require much longer stopping distances than passenger vehicles.
- Watch for low bridges, especially on older state routes and in urban areas. Your GPS should flag these, but do not rely on it exclusively.
- Check your mirrors every 5–7 seconds. Extended tow mirrors are worth the investment if you are pulling a trailer.
- Take wide turns. The rear of a trailer or motorhome tracks inside the tow vehicle’s path, and curbs and signs disappear from your mirrors faster than you expect.
- Fuel up before the tank drops below a quarter. Large stations near highway exits are easier to navigate than small-town pumps with tight approaches.
Parking and backing:
- Practice backing in an empty parking lot before your first campground arrival. Backing a trailer or long motorhome in a tight site under pressure is not the time to learn the basics.
- Use a spotter every time you back into a site, even after you gain experience. Two sets of eyes prevent damage that one set misses.
- If a site feels too tight, ask the campground host for an alternative. Repositioning after a scrape costs far more than the awkward conversation.
Key Takeaways
A successful first RV trip comes down to preparation, a repeatable setup routine, and the right gear before you ever leave the driveway.
| Point | Details |
|---|---|
| Gear up before you go | Pack a drinking-water-safe hose, water pressure regulator, surge protector, sewer hose kit, and wheel chocks before your first trip. |
| Practice at home first | A driveway practice day lets you test all systems and catch errors in a controlled environment before you are miles from help. |
| Follow the 330 rule | Limit daily travel to 330 miles or plan to arrive by 3:30 PM to prevent fatigue and allow calm setup. |
| Start short and simple | Choose a full-hookup campground within 1–3 hours of home for your first trip to build confidence without added pressure. |
| Maintain after every trip | Flush tanks, inspect seals, check tires, and run a post-trip checklist to keep your rig ready for the next adventure. |